Next.js로 다국어 처리를 도와주는 다국어를 도와주는 여러가지 모듈이 존재합니다.
https://nextjs.org/docs/pages/building-your-application/routing/internationalization
이 글에서는 next-intl을 이용해 다국어 처리를 해보겠습니다.
https://next-intl-docs.vercel.app/
1. 먼저 Next.js를 CLI로 생성합니다.
이 문서에서는 Typescript와 App router를 사용하겠습니다.
npx create-next-app@14 my-nextjs-i18n
2. 다국어 처리에 사용할 next-itnl을 설치합니다.
npm install next-intl --save
3. 먼저 다국어 지원을 처리할 메시지들을 생성합니다.
├── messages
│   ├── en.json
│   ├── jp.json
│   └── ko.json
루트 경로에 다음과 같이 3개의 json파일을 만들고, 내용을 입력해줍니다.
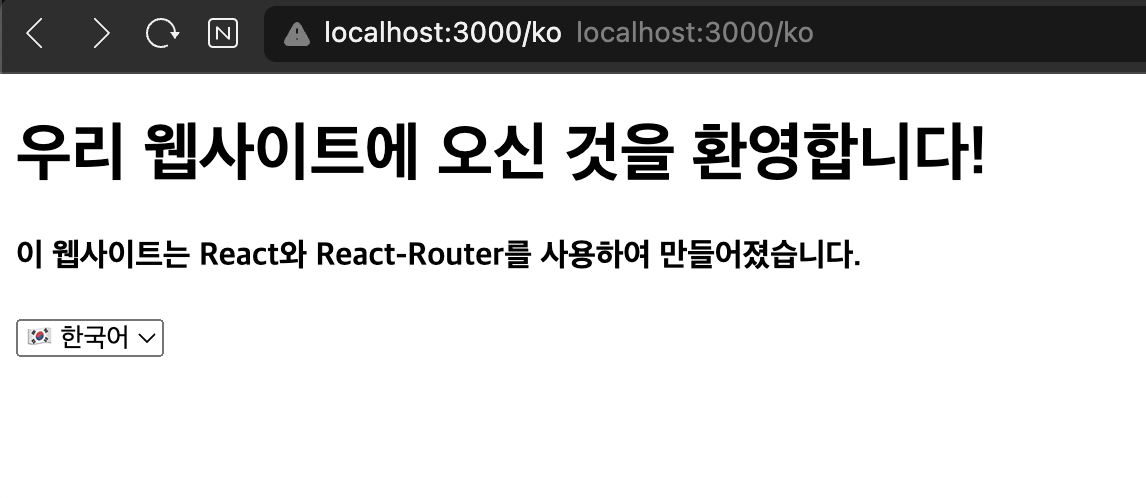
// ko.json
{
  "Home": {
    "welcome": "우리 웹사이트에 오신 것을 환영합니다!",
    "content": "이 웹사이트는 React와 React-Router를 사용하여 만들어졌습니다."
  },
  "LocaleSwitcher": {
    "label": "Change language",
    "locale": "{locale, select, en {🇺🇸 영어} ko {🇰🇷 한국어} jp {🇯🇵 일본어} other {Unknown}}"
  }
}
// en.json
{
"Home": {
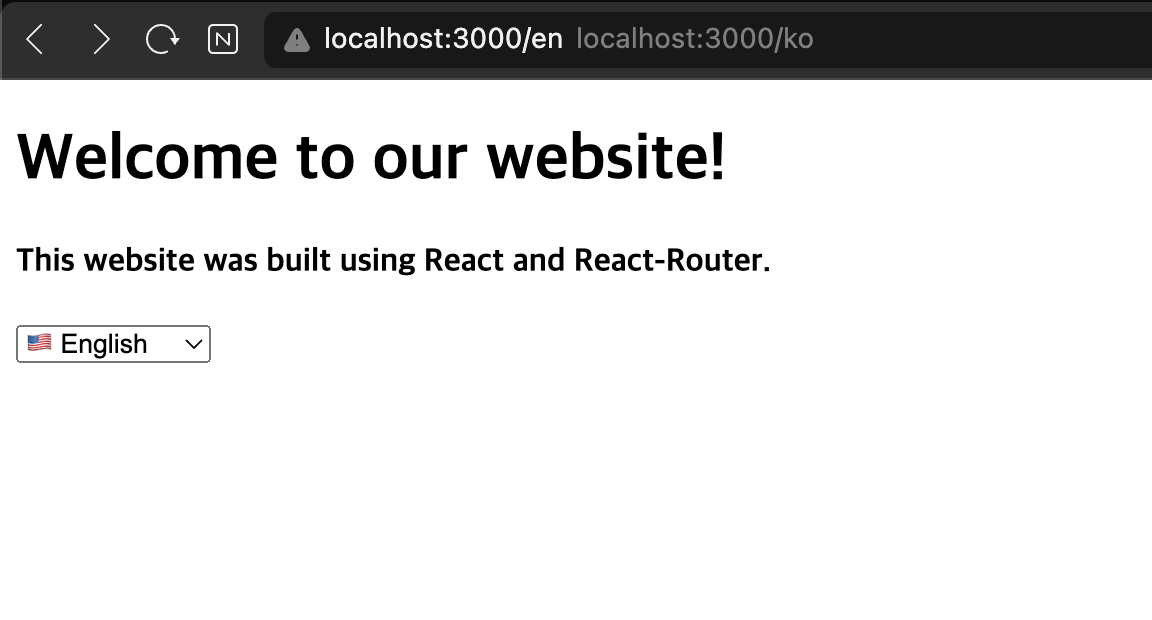
"welcome": "Welcome to our website!",
"content": "This website was built using React and React-Router."
},
"LocaleSwitcher": {
"label": "Change language",
"locale": "{locale, select, en {🇺🇸 English} ko {🇰🇷 Korean} jp {🇯🇵 Japanese} other {Unknown}}"
}
}
// jp.json
{
"Home": {
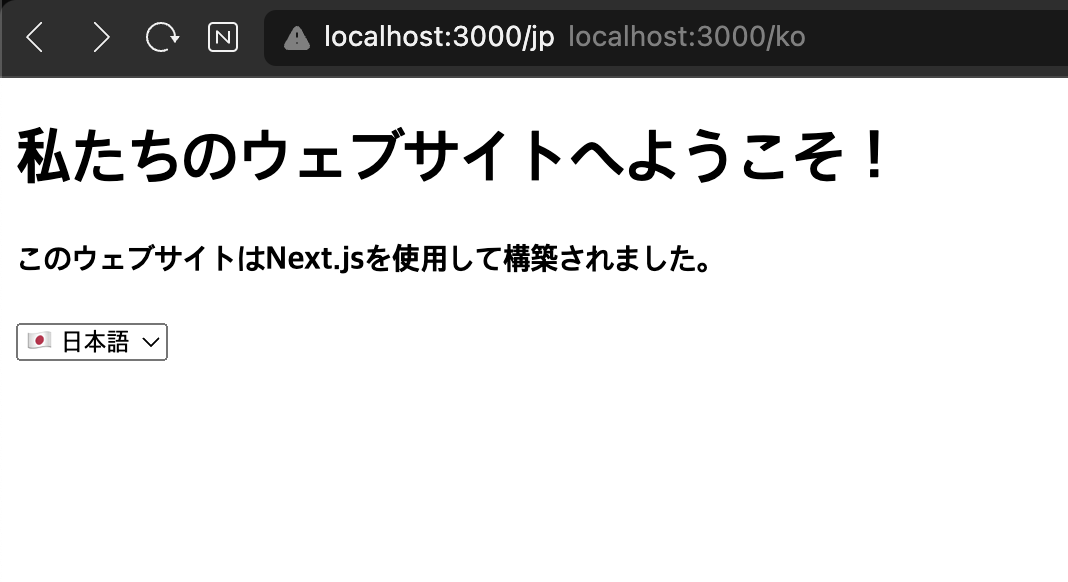
"welcome": "私たちのウェブサイトへようこそ!",
"content": "このウェブサイトはNext.jsを使用して構築されました。"
},
"LocaleSwitcher": {
"label": "Change language",
"locale": "{locale, select, en {🇺🇸 英語} ko {🇰🇷 韓国語} jp {🇯🇵 日本語} other {Unknown}}"
}
}
4. 이제 next-intl을 사용하기 위한 설정이 필요합니다.
next.config.mjs 파일을 다음과 같이 설정합니다.
/** next.config.mjs */

import createNextIntlPlugin from 'next-intl/plugin';

const withNextIntl = createNextIntlPlugin();

/** @type {import('next').NextConfig} */
const nextConfig = {};

export default withNextIntl(nextConfig);
5. i18n에 관한 설정이 필요합니다.
i18n의 설정과 next-itnl의 미들웨어를 설정합니다.
// /src/config.ts

import {Pathnames, LocalePrefix} from 'next-intl/routing';

// 디폴트로 설정할 로케일
export const defaultLocale = 'en' as const;

// 지원 할 로케일
export const locales = ['en', 'ko', 'jp'] as const;

export type Locale = (typeof locales)[number];

export const pathnames: Pathnames<typeof locales> = {
  '/': '/'
};

export const localePrefix: LocalePrefix<typeof locales> = 'always';

export const port = process.env.PORT || 3000;
export const host = process.env.VERCEL_URL
  ? `https://${process.env.VERCEL_URL}`
  : `http://localhost:${port}`;
// /src/i18n.ts

import {notFound} from 'next/navigation';
import {getRequestConfig} from 'next-intl/server';
import {locales} from './config';

export default getRequestConfig(async ({locale}) => {
  // Validate that the incoming `locale` parameter is valid
  if (!locales.includes(locale as any)) notFound();

  return {
    messages: (
      await (locale === 'en'
        ? // When using Turbopack, this will enable HMR for `en`
          import('../messages/en.json')
        : import(`../messages/${locale}.json`))
    ).default
  };
});
// /src/middleware.ts

import createMiddleware from 'next-intl/middleware';
import {localePrefix, defaultLocale, locales, pathnames} from './config';

export default createMiddleware({
  defaultLocale,
  locales,
  localePrefix,
  pathnames
});

export const config = {
  matcher: [
    // Enable a redirect to a matching locale at the root
    '/',

    // Set a cookie to remember the previous locale for
    // all requests that have a locale prefix
    '/(de|en|ko|jp)/:path*',

    // Enable redirects that add missing locales
    // (e.g. `/pathnames` -> `/en/pathnames`)
    '/((?!_next|_vercel|.*\\..*).*)'
  ]
};
// navigation.ts

import {createLocalizedPathnamesNavigation} from 'next-intl/navigation';
import {locales, pathnames, localePrefix} from './config';

export const {Link, getPathname, redirect, usePathname, useRouter} =
  createLocalizedPathnamesNavigation({
    locales,
    pathnames,
    localePrefix
  });
6. 이제 i18n이 적용된 페이지를 작성합니다.
locale 설정에 따라 http://localhost:3000/ko or http://localhost:3000/en 식으로 경로를 미들웨어에서 바꿔주게 됩니다.
app폴더 아래 [locale] 폴더를 생성해 동적 라우팅을 만들어줍니다.
// src/app/[locale]/layout.tsx

import {NextIntlClientProvider} from 'next-intl';
import {getMessages} from 'next-intl/server';

export default async function LocaleLayout({
  children,
  params: {locale}
}: {
  children: React.ReactNode;
  params: {locale: string};
}) {
  const messages = await getMessages();

  return (
    <html lang={locale}>
      <body>
        <NextIntlClientProvider messages={messages}>
          {children}
        </NextIntlClientProvider>
      </body>
    </html>
  );
}
messages의 json에 미리 정의해둔 문자를 보여주는 간단한 page.tsx 를 생성해보겠습니다.
'use client';

import {useTranslations} from 'next-intl';
import LocaleSwitch from '@/components/LocaleSwitch';

export default function Home() {
  const t = useTranslations('Home');

  return (
    <div>
      <h1>{t('welcome')}</h1>
      <h4>{t('content')}</h4>
    </div>
  );
}
또한 현재 기본 locale을 en으로 설정했기 때문에 루트 도메인으로 접속하는 경우 en locale로 리다이렉트 해주겠습니다.
// src/app/page.tsx

import {redirect} from 'next/navigation';

// This page only renders when the app is built statically (output: 'export')
export default function RootPage() {
  redirect('/en');
}
이제 i18n을 위한 설정과 페이지 작업이 마무리 되었습니다. 페이지를 확인해보면 경로에 따라 미리 설정해둔 문구가 보여지는 것을 확인할 수 있습니다.
전체적인 폴더 구조는 이렇게 구성됩니다.
├── messages
│   ├── en.json
│   ├── jp.json
│   └── ko.json
├── next.config.mjs
├── package-lock.json
├── package.json
├── public
├── src
│   ├── app
│   │   ├── [locale]
│   │   │   ├── layout.tsx
│   │   │   └── page.tsx
│   │   ├── layout.tsx
│   │   └── page.tsx
│   ├── components
│   │   ├── LocalSwitchSelect.tsx
│   │   └── LocaleSwitch.tsx
│   ├── config.ts
│   ├── i18n.ts
│   ├── middleware.ts
│   └── navigation.ts
참고자료